
Heat resistant coatings are essential for protecting surfaces exposed to high temperatures, such as industrial equipment, exhaust systems, and even household appliances. When applied correctly, these coatings not only extend the life of materials but also improve energy efficiency and safety. In this blog, we’ll walk you through the Step-by-Step Application of Heat Resistant Coating to achieve the best possible results.
Why Use Heat Resistant Coatings?
Heat Resistant Coatings act as a shield against extreme temperatures, oxidation, and corrosion. From automotive exhausts to power plants, these coatings are trusted for:
- Withstanding temperatures that standard paints cannot handle.
- Reducing surface degradation from thermal cycling.
- Enhancing performance and durability of metals and alloys.
Whether you’re working in industrial manufacturing, construction, or DIY projects, applying these coatings properly is the key to long-lasting protection.
Tools and Materials You’ll Need
Before diving into the process, gather the necessary items:
- Heat resistant coating (based on application needs: silicone-based, epoxy-based, or ceramic-based)
- Clean cloths or degreasers
- Sandpaper, wire brush, or grinder
- Spray gun, brush, or roller
- Protective equipment: gloves, safety glasses, and respirator
Step-by-Step Application Process
1. Surface Preparation
Proper preparation ensures maximum adhesion:
- Clean the surface thoroughly to remove grease, dust, rust, and contaminants.
- Use sandpaper or a wire brush to smooth rough areas.
- For heavily corroded metals, consider grit blasting for a clean finish.
surface preparation for heat resistant coating
2. Primer Application (Optional)
For certain metal substrates, applying a compatible primer improves adhesion and resistance.
- Apply a thin, even coat of high-temperature primer.
- Allow it to cure as per manufacturer guidelines.
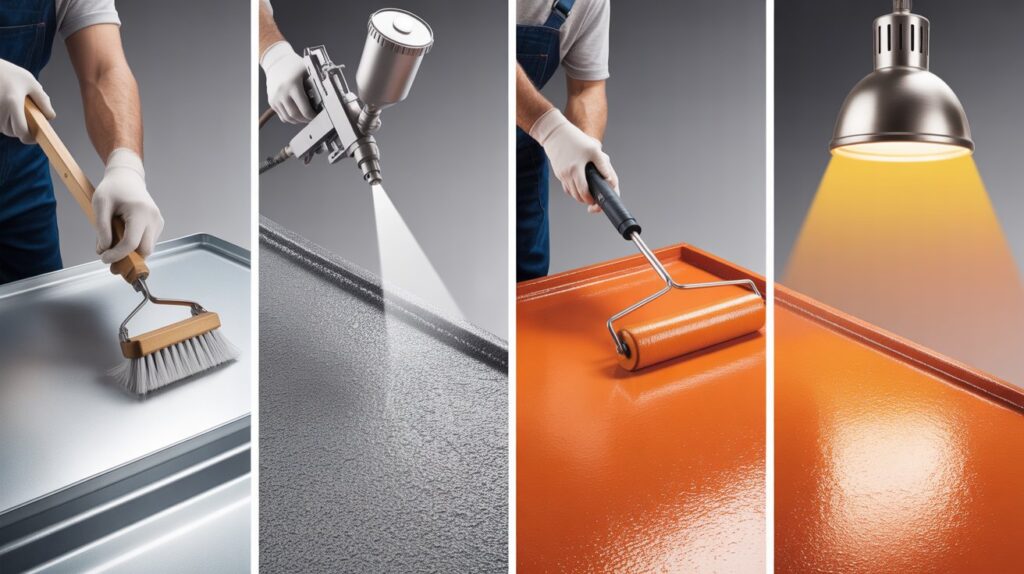
3. Coating Application
Now it’s time to apply the heat resistant paint or coating:
- Stir or mix the coating thoroughly before use.
- Apply using a spray gun for large surfaces, or a brush/roller for smaller projects.
- Maintain even strokes to avoid runs and uneven thickness.
- Apply multiple thin coats rather than one thick layer for best results.
how to apply heat resistant coating evenly
4. Curing Process
Curing is the most critical step for long-lasting results:
- Some coatings require air drying before exposure to heat, while others need immediate baking at a specified temperature.
- Gradually increase operating temperature to allow proper curing.
- Avoid direct flame exposure during the curing phase unless specified.
Best Practices for Long-Lasting Results
- Always follow the manufacturer’s specific instructions.
- Apply coatings in a well-ventilated area.
- Do not skip curing—it ensures the coating creates a durable bond.
- Store unused coating materials in airtight containers away from heat and humidity.
Common Mistakes to Avoid
- Applying too thick a layer in one go.
- Ignoring surface cleaning before coating.
- Rushing the curing process.
- Using a general primer instead of a high-heat primer.
Final Thoughts
The correct application of heat resistant coatings can dramatically increase the lifespan and performance of materials exposed to extreme temperatures. By following this step-by-step heat resistant coating guide, you’ll not only achieve professional-grade protection but also save time and resources in the long run.
If you’re dealing with high-temperature environments—whether automotive, industrial, or domestic—investing in the right coating and applying it properly is a decision that pays off with durability and safety.
international cannabis delivery available with blockchain tracking
Pingback: Save Energy & Stay Cool | Rise of Heat-Reflective Roof Coatings